1.Spring boot로 웹 소켓통신 채팅 페이지 만들기
2. STS에서 Spirng project 만들기
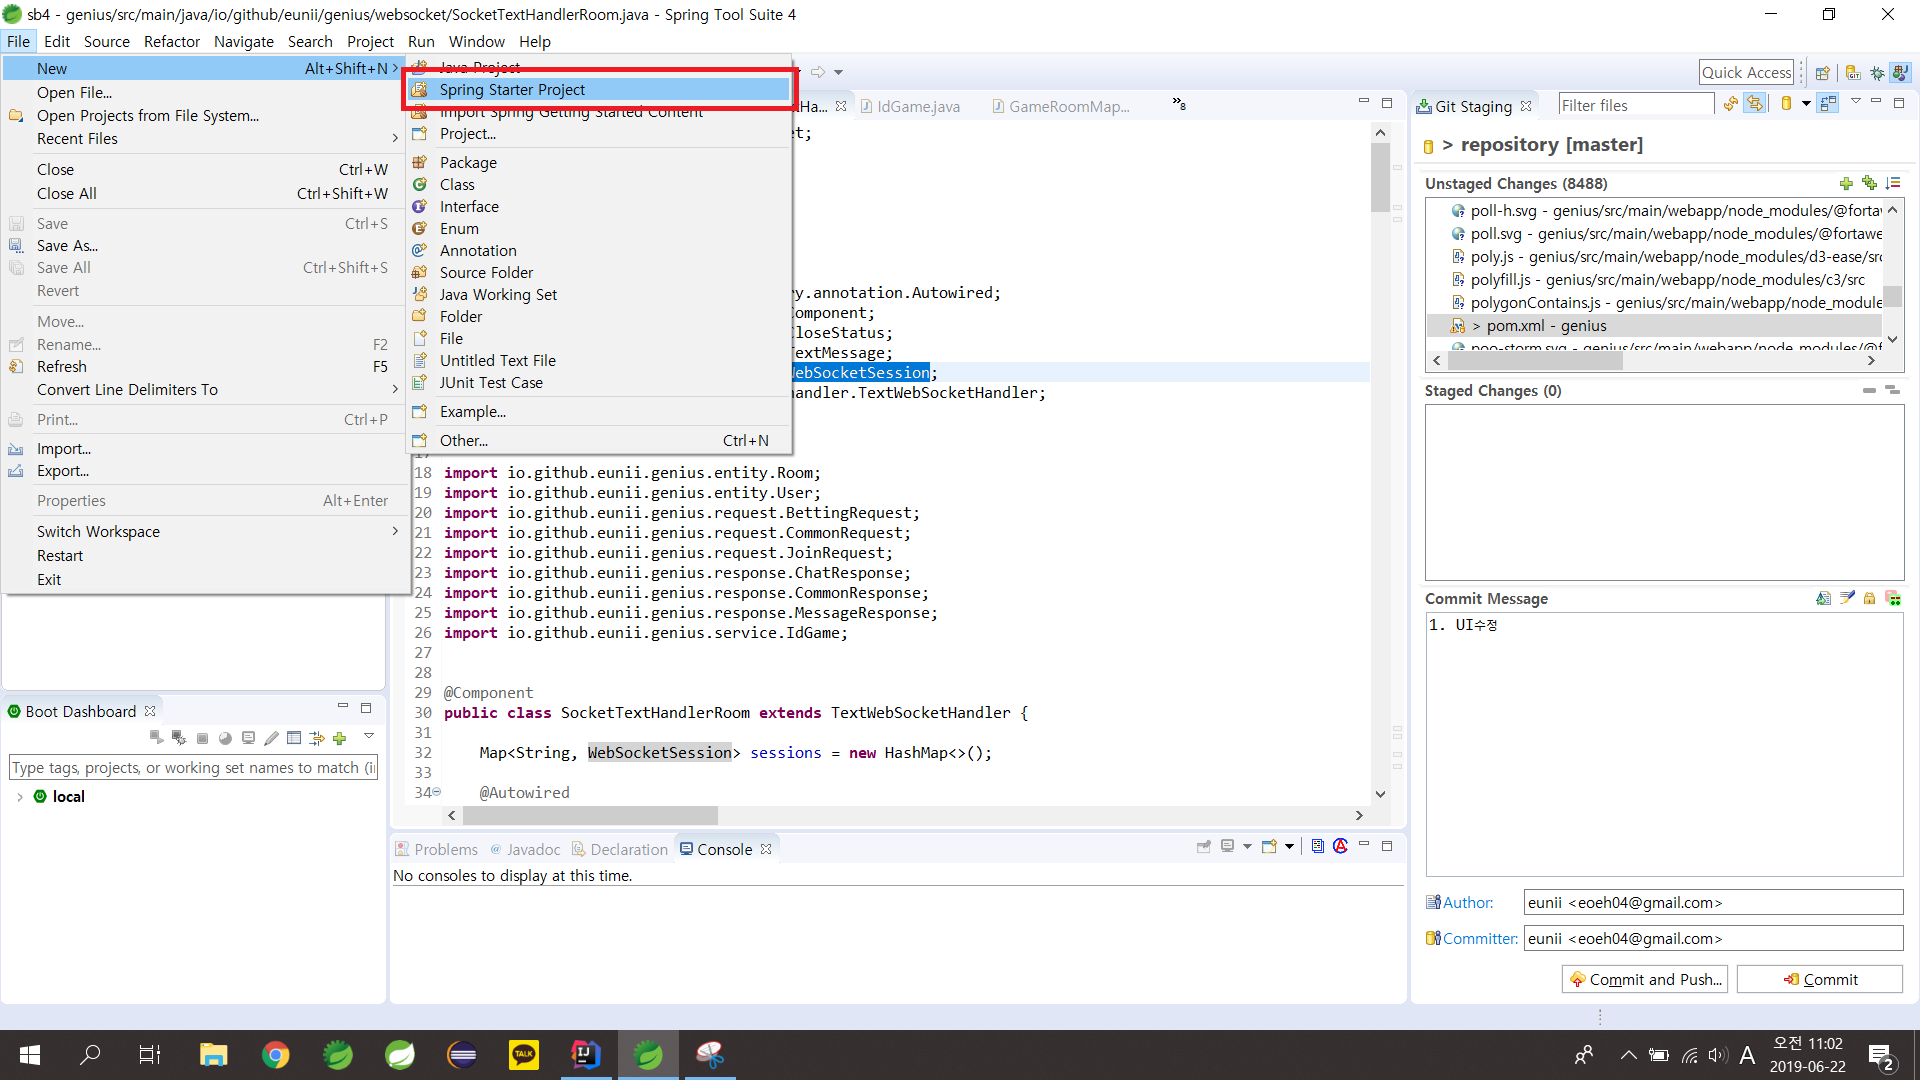
2.1 files - new - Spring Start Project 클릭
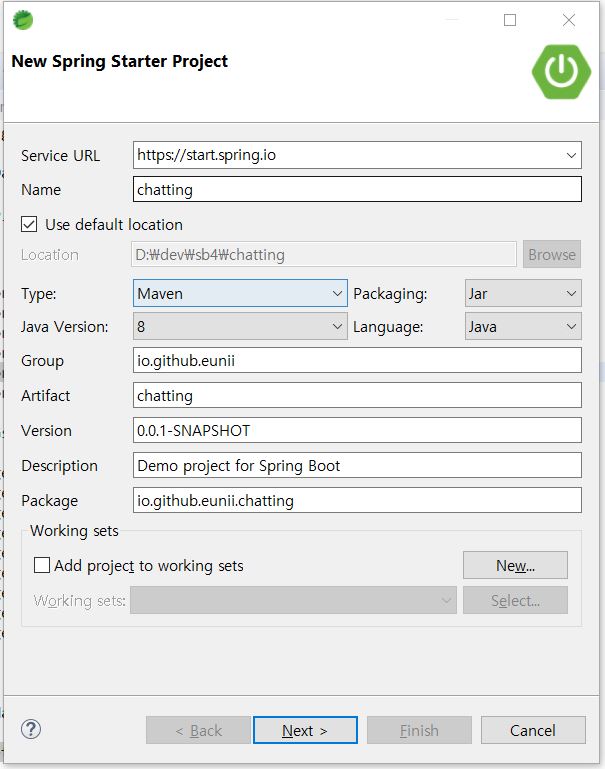
2.2 아래와 같이 입력(프로젝트 이름 등) - next클릭
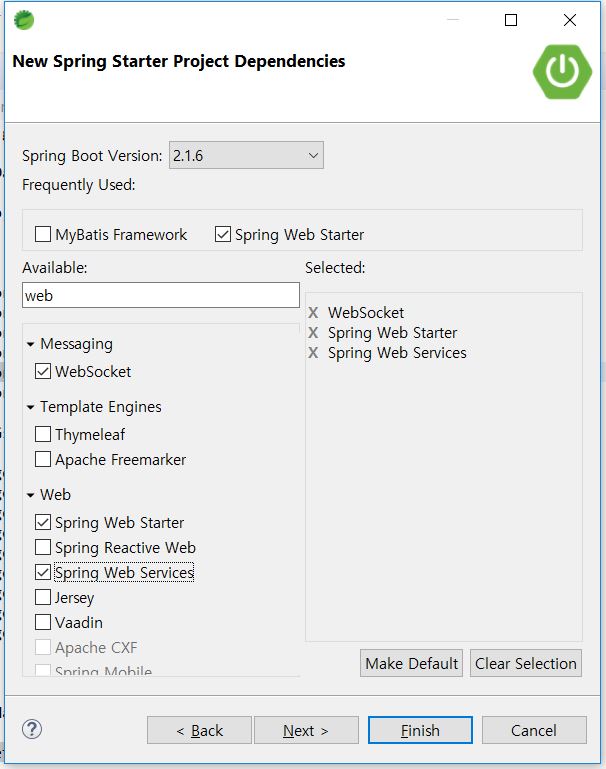
2.3 Available에web 검색 후 WebSocket, Spring web start 체크 후 Finish 클릭
2.4 pom.xml에 다음과 같은 디펜던시 추가 됐는지 확인한다.
1
2
3
4
5
6
7
8
9
10
11
12
| <dependency>
<groupId>org.springframework.boot</groupId>
<artifactId>spring-boot-starter-web</artifactId>
</dependency>
<dependency>
<groupId>org.springframework.boot</groupId>
<artifactId>spring-boot-starter-web-services</artifactId>
</dependency>
<dependency>
<groupId>org.springframework.boot</groupId>
<artifactId>spring-boot-starter-websocket</artifactId>
</dependency>
|
아래 디펜던시를 추가한다.
1
2
3
4
| <dependency>
<groupId>org.apache.tomcat.embed</groupId>
<artifactId>tomcat-embed-jasper</artifactId>
</dependency>
|

2.5 src/main/webapp/WEB-INF/jsp 폴더를 만든다

2.6 src/main/resources/application.properites에 아래 내용을 추가한다.
1
2
| spring.mvc.view.prefix=/WEB-INF/jsp/
spring.mvc.view.suffix=.jsp
|
2.7 src/main/ io.github.eunii.chatting/ChattingApplication.java에 @config 어노테이션을 추가한다.
1
2
3
4
5
6
7
8
9
10
11
12
13
14
15
16
|
package io.github.eunii.chatting;

import org.springframework.boot.SpringApplication;
import org.springframework.boot.autoconfigure.SpringBootApplication;
import org.springframework.context.annotation.Configuration;

@SpringBootApplication
@Configuration
public class ChattingApplication {

	public static void main(String[] args) {
		SpringApplication.run(ChattingApplication.class, args);
	}

}
|
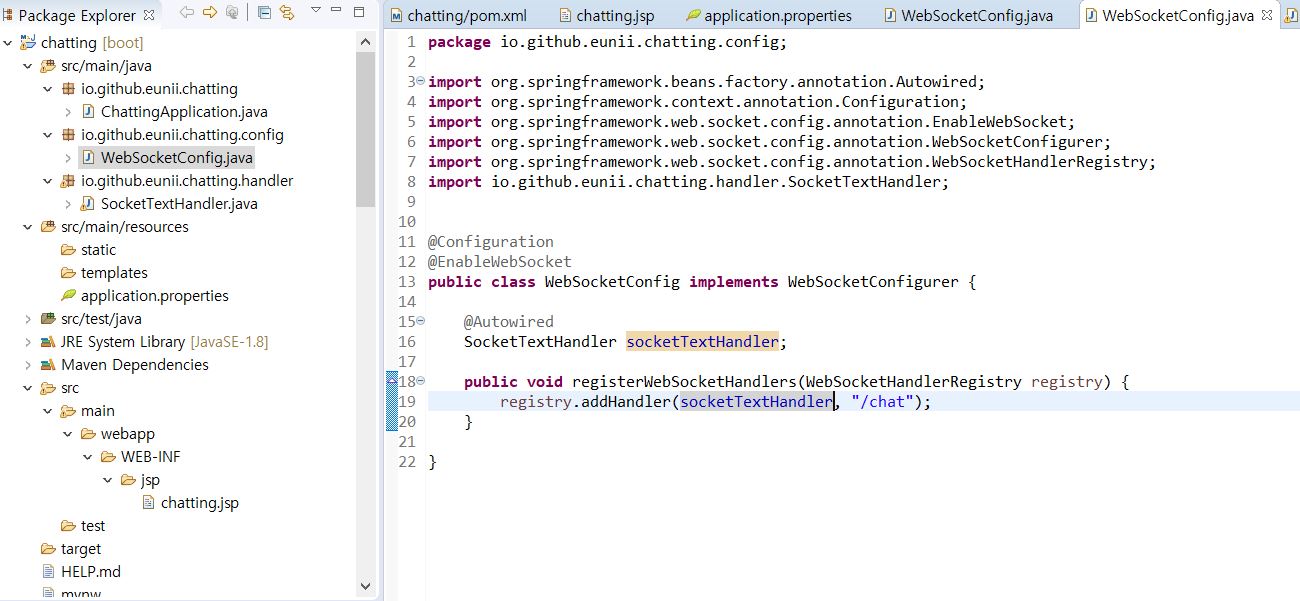
3. src/main/java 아래 io.github.eunii.chatting.config 패키지를 만들고 아래 내용의 WebScoketConfig.java 파일을 만든다.
1
2
3
4
5
6
7
8
9
10
11
12
13
14
15
16
17
18
19
20
21
22
| package io.github.eunii.chatting.config;
import org.springframework.beans.factory.annotation.Autowired;
import org.springframework.context.annotation.Configuration;
import org.springframework.web.socket.config.annotation.EnableWebSocket;
import org.springframework.web.socket.config.annotation.WebSocketConfigurer;
import org.springframework.web.socket.config.annotation.WebSocketHandlerRegistry;
import io.github.eunii.chatting.handler.SocketTextHandler;
@Configuration
@EnableWebSocket
public class WebSocketConfig implements WebSocketConfigurer {
@Autowired
SocketTextHandler socketTextHandler;
public void registerWebSocketHandlers(WebSocketHandlerRegistry registry) {
registry.addHandler(socketTextHandler, "/chat");
}
}
|
/chat 으로 호출이 오면 SocketTestHandler를 실행한다는 뜻이다.
4 src/main/java 아래 io.github.eunii.chatting.handler 패키지를 만들고 아래 내용의 SocketTextHandler.java 파일을 만든다.
1
2
3
4
5
6
7
8
9
10
11
12
13
14
15
16
17
18
19
20
21
22
23
24
25
26
27
28
29
30
31
32
33
34
35
36
37
38
39
40
41
42
43
44
45
46
47
48
49
50
51
| package io.github.eunii.chatting.handler;
import java.io.IOException;
import java.util.HashMap;
import org.springframework.stereotype.Component;
import org.springframework.web.socket.CloseStatus;
import org.springframework.web.socket.TextMessage;
import org.springframework.web.socket.WebSocketSession;
import org.springframework.web.socket.handler.TextWebSocketHandler;
@Component
public class SocketTextHandler extends TextWebSocketHandler {
HashMap<String, WebSocketSession> sessions = new HashMap<>();
@Override
public void handleTextMessage(WebSocketSession session, TextMessage message) {
String payload = message.getPayload();
try {
for (String key : sessions.keySet()) {
WebSocketSession ss = sessions.get(key);
ss.sendMessage(new TextMessage(payload));
}
} catch (IOException e) {
e.printStackTrace();
}
}
@Override
public void afterConnectionEstablished(WebSocketSession session) throws Exception {
super.afterConnectionEstablished(session);
sessions.put(session.getId(), session);
}
@Override
public void afterConnectionClosed(WebSocketSession session, CloseStatus status) throws Exception {
sessions.remove(session.getId());
super.afterConnectionClosed(session, status);
}
}
|
- handleTextMessage(WebSocketSession session, TextMessage message) 함수는 클라이언트에서 ws.send(data)가 호출되면 실행된다.
- afterConnectionEstablished()는 세션이 시작될때 실행되는 함수이다. 여기선 sessions에 생성된 세션 정보를 저장한다.
- afterConnectionClosed()는 세션이 끊길때 실행되는 함수. 여기선 sessions에 저장된 세션 정보를 지운다.
4. Client jps 페이지 만들기 src/main/webapp/WEB-INF/jsp에 chat.jsp파일을 만든다.
1
2
3
4
5
6
7
8
9
10
11
12
13
14
15
16
17
18
19
20
21
22
23
24
25
26
27
28
29
30
31
32
33
34
35
36
37
38
39
40
41
| <%@ page language="java" contentType="text/html; charset=UTF-8"
pageEncoding="UTF-8"%>
<!DOCTYPE html>
<html>
<head>
<script src="https://ajax.googleapis.com/ajax/libs/jquery/3.4.1/jquery.min.js"></script>
<meta charset="UTF-8">
<title>Insert title here</title>
</head>
<script type="text/javascript">
var ws;
function connectWs() {
ws = new WebSocket('ws://' + location.host + '/chat');
ws.onmessage = function(data) {
console.log(data.data);
$("<p>"+data.data+"</p>").prependTo('#chat');
}
$('#startBtn').hide();
}
function send() {
ws.send($("#chatting").val());
$('#chatting').val("");
}
</script>
<body>
<h1>채팅 방 입니다</h1>
<button onclick="connectWs()" id="startBtn"> 채팅 시작하기</button>
<input id="chatting"></input><button onclick="send()"> 보내기 </button>
<div>
<p id="chat"></p>
</div>
</body>
</html>
|
jquery를 추가한다.
채팅 시작하기 버튼을 만들어 connectWs() 함수로 소켓을 연다.
ws.onmessage = function(data) {} 함수는 서버에서 handleTextMessage()가 실행되어 전송해준 data를 받는다.
ws.send(“STRING”) 함수는 send()함수가 실행될때마다 handleTextMessage(WebSocketSession session, TextMessage message)에 message정보를 보낸다.
5 src/main/java 아래 io.github.eunii.chatting.controller 패키지를 만들고 아래 내용의 MainController.java 파일을 만든다.
1
2
3
4
5
6
7
8
9
10
11
12
13
14
15
16
| package io.github.eunii.chatting.controller;
import org.springframework.stereotype.Controller;
import org.springframework.web.bind.annotation.RequestMapping;
import org.springframework.web.servlet.ModelAndView;
@Controller
public class MainController {
@RequestMapping("/")
public ModelAndView home() {
ModelAndView mv = new ModelAndView("chat");
return mv;
}
}
|
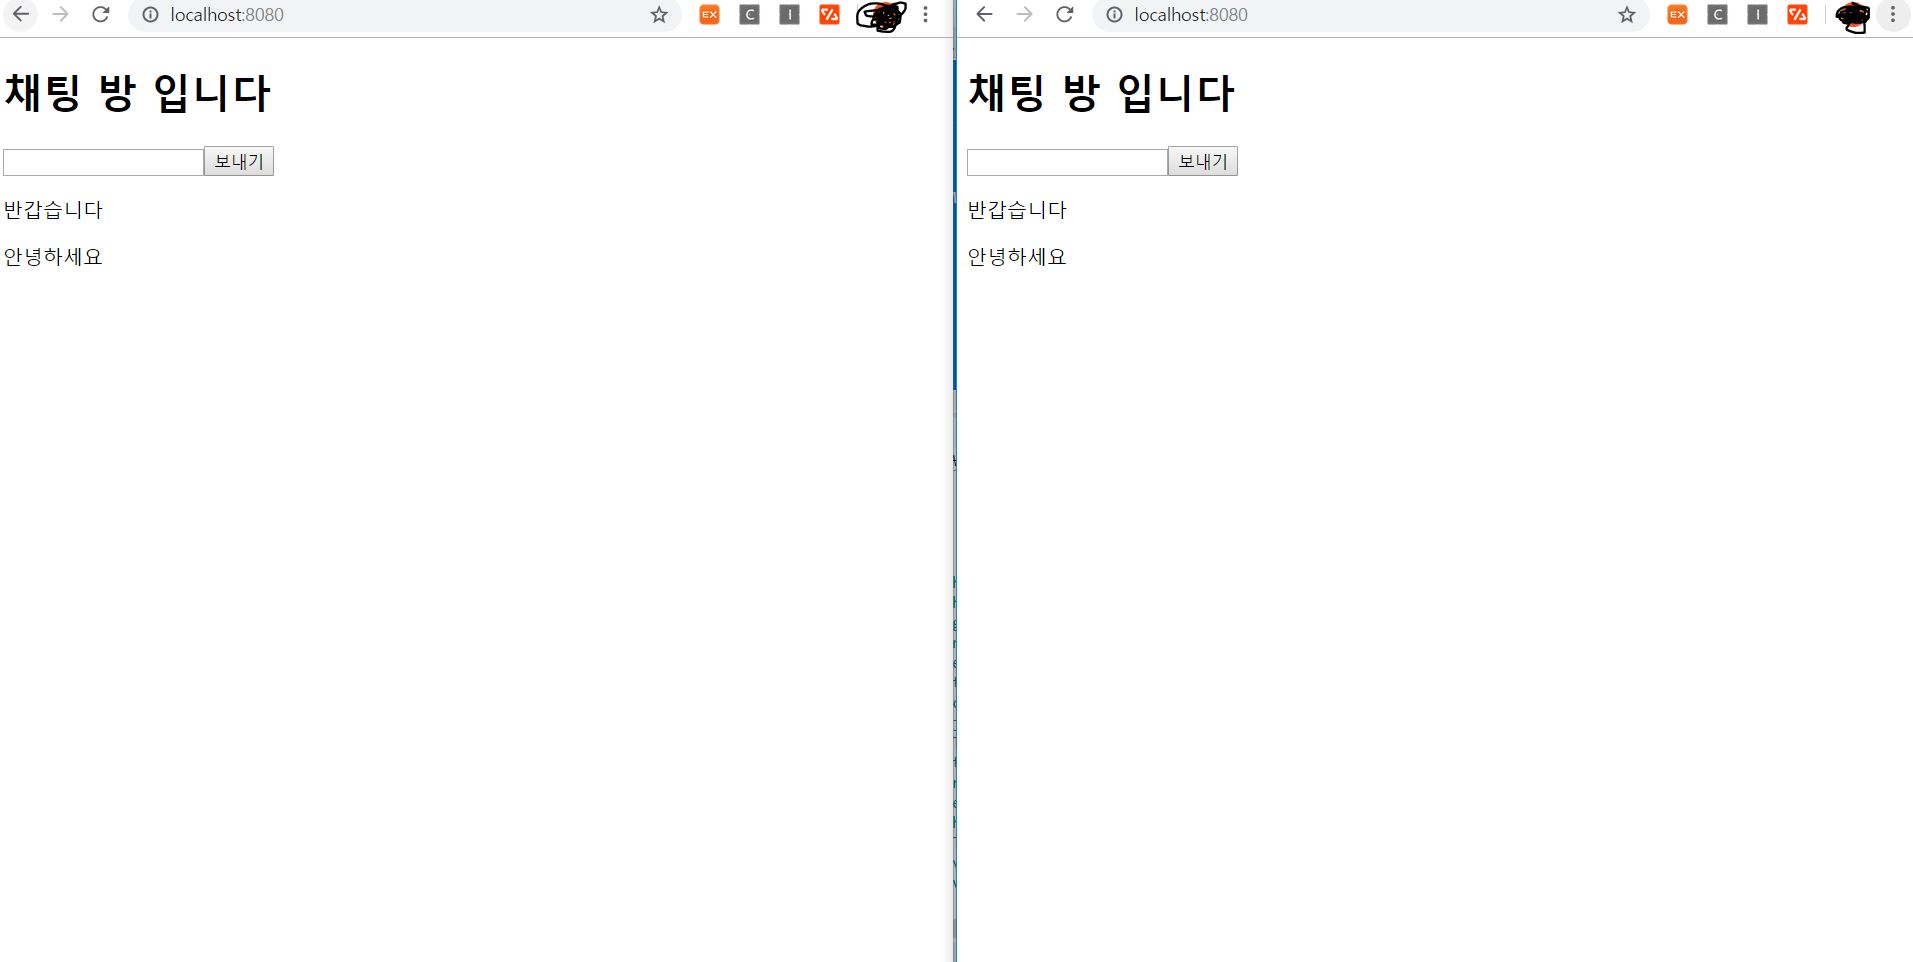
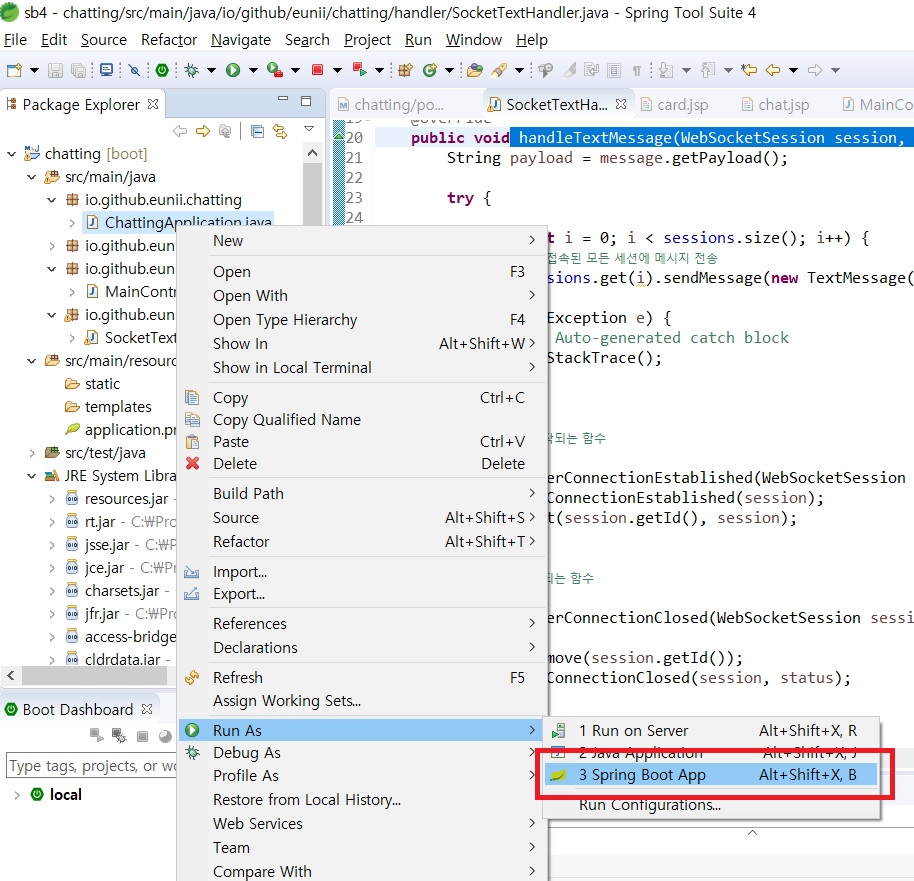
6. start as Spring boot app으로 서버를 실행한다.
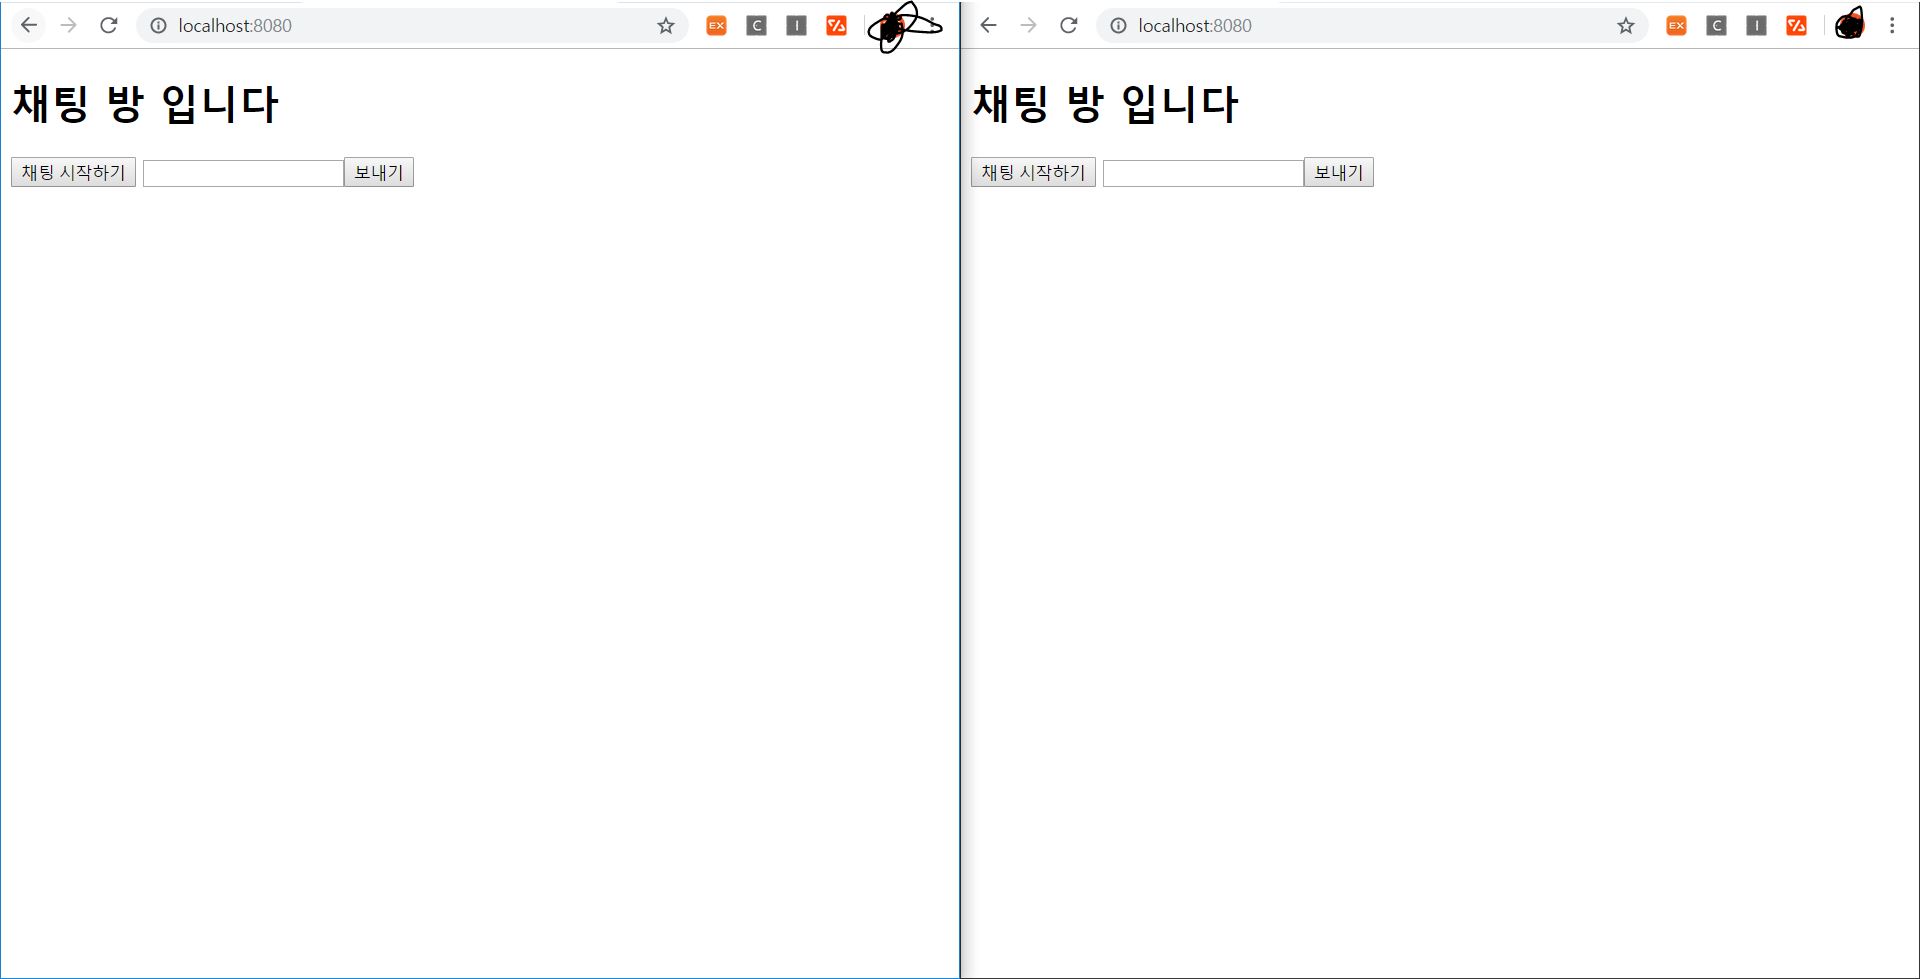
8. 채팅 시작하기를 누른다.

9. 메시지를 전송해 본다.